

Are you tired of water leaking out of your garden hose due to a pesky hole? Don’t worry, we’ve got you covered. In this post, we will show you step-by-step how to fix a hole in your garden hose so you can get back to watering your plants.
Fixing a hole in your garden hose is easier than you think, and with the right tools and techniques, you can have your hose as good as new in no time.
So let’s dive in and learn how to fix a hole in your garden hose.
Table of Contents
Identifying the Location and Size of the Hole
To successfully repair a hole in your garden hose, the first step is finding exactly where the damage is and determining how big it is. Begin by conducting a thorough inspection of the hose, looking for visible signs of wear or damage that could indicate the presence of a hole.
If you don’t seem to find hole, try to fill the garden hose with water and observe it closely as the water flows through. This method will help you spot any leaks as water escapes from the damaged area.
Once you’ve found the hole, take a moment to assess its size. Smaller holes can often be patched up quickly and easily, while larger holes may necessitate a more comprehensive approach to repair.
Preparing the Hose for Repair
To ready your garden hose for the repair process, it involves eliminating the compromised section that houses the hole. Utilizing a sharp utility knife, make precise cuts at least one inch away from either side of the hole to ensure a clean area for the repair.
This distance is crucial for providing ample space for the repair method you choose, whether it be a hose mender or sealant. Following the removal of this section, it’s imperative to create a surface conducive to adhesion.
Accomplish this by lightly sanding the edges of the cut hose. This roughening of the surface is a key preparatory step, as it significantly enhances the grip of the chosen repair material, be it tape, sealant, or a mechanical mender, ensuring a secure and long-lasting repair.
Choosing the Right Fix for the Hole
Selecting an appropriate method to repair the hole in your garden hose is necessary for a lasting solution.
If the hole is small, a garden hose mender could be your best option. These devices are designed to reconnect the hose segments seamlessly and are available in various sizes to fit your specific needs.
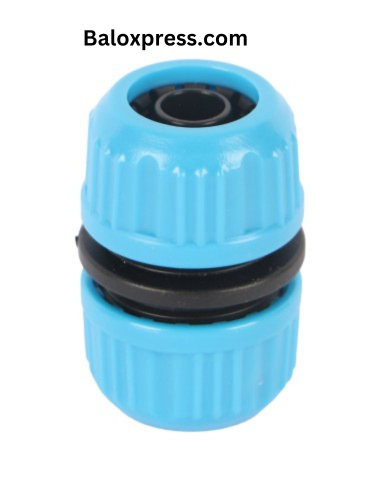
Ensure the mender you select is compatible with the diameter of your hose for a snug fit. Alternatively, for an even simpler fix, consider using waterproof tape or a specialty hose sealant.
These materials are designed to create a watertight barrier over the hole, preventing further leakage. Waterproof tape offers a quick, albeit temporary fix, while sealants provide a more durable solution that can extend the life of your hose.
Each method has its advantages, depending on the severity of the damage and the materials you have at hand. Choosing the right fix will not only restore your garden hose to functionality but also save you from the expense of a complete replacement.
ALSO READ: How to mount garden hose reel on brick wall
Applying the Repair Solution
For those opting for a hose mender, start by aligning the ends of the hose with the mender’s openings. Carefully push the pieces together until they’re fully seated. You may need to use a bit of force or twist slightly to get a snug fit.
Once in place, use a clamp or the provided fasteners to secure the hose onto the mender. Tighten these with a screwdriver to ensure a leak-proof connection.
If your chosen solution is waterproof tape, begin by cleaning the hose surface around the hole to ensure the tape adheres properly.
Dry the area thoroughly, then wrap the tape around the hose, extending a few inches beyond the hole on both sides. Overlap each layer of tape by at least half its width for maximum sealant. Press firmly on the tape as you wrap to eliminate any air bubbles.
In the case of using a sealant, ensure the hose is dry and apply the product directly over the hole, following the manufacturer’s guidelines for application.
Spread the sealant over and around the hole generously, creating a seal that extends beyond the damaged area. Allow ample time for the sealant to cure, adhering to the product’s recommended drying time for the best results.
Testing the Repair
Once the repair has been applied to your garden hose, it’s important to verify the effectiveness of the fix.
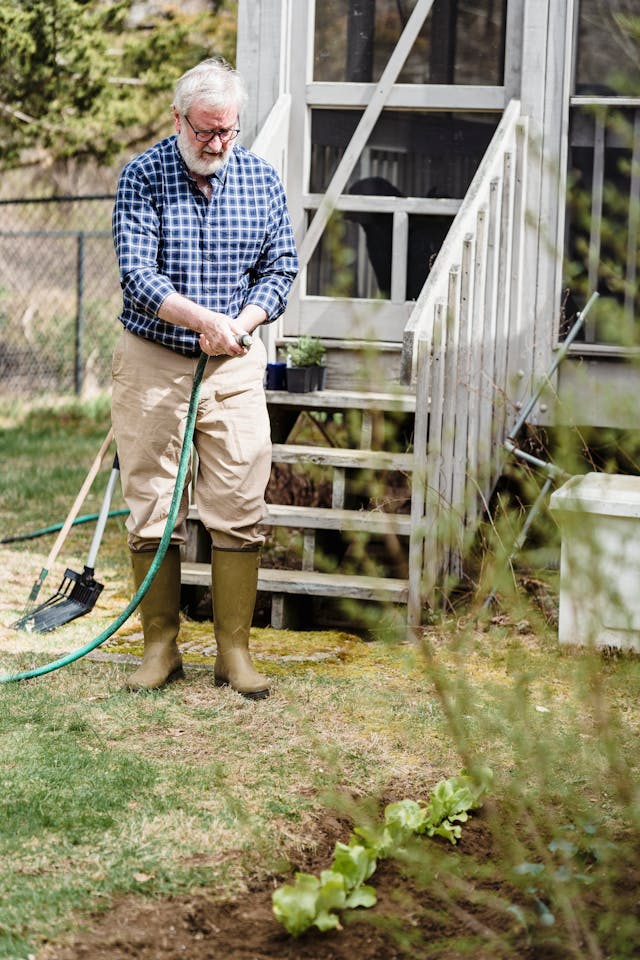
Begin by carefully turning on the water supply, allowing the water to flow through the hose. Monitor the area around the repair closely for any signs of leakage or moisture.
If any leaks are detected, it may be necessary to adjust the repair or consider an alternative repair method. Should the repair appear secure and leak-free, allow the water to run for a few more minutes to ensure the fix is durable under normal operating conditions.
Successfully passing this test confirms that your garden hose is ready for regular use, effectively restoring its functionality without the need for a full replacement.
Now that you have learnt how to fix a hole in your garden hose, make sure you give your comments below and let us know if there are any questions, we will always be available to respond. Happy gardening!
ALSO READ: How to roll up a garden hose


