

Are you tired of struggling with tangled and messy garden hose? Look no further! Learning how to roll up a garden hose properly can save you time and frustration.
In this blog post, we will show you the best way to roll up a garden hose with or without an hose reel, leaving you with a neatly coiled hose ready for your next watering session.
Table of Contents
Now before showing you these steps, let us quickly take a look at why it is necessary for gardeners to properly wrap their garden hose.
Why Properly Rolling up Your Garden Hose is Important?
Properly rolling up your garden hose is important for a variety of reasons. Firstly, it helps to prevent tangles and knots, saving you time and frustration when you next need to use it.
We’ve all been there – pulling on a tangled mess of a hose, trying to undo the knots and kinks before we can even start watering our plants. By rolling it up properly, you can avoid this headache altogether.
Secondly, properly rolling up your garden hose extends its lifespan. When a hose is left strewn across the yard or garden, it is more prone to damage from the elements. The sun can degrade the material, causing it to become brittle and prone to cracks. Additionally, a hose left on the ground is at risk of being stepped on or run over, which can lead to punctures or leaks.
Furthermore, if you have a hose reel or a garden hose reel connection, rolling up your hose properly allows for easy storage and organization. A hose reel provides a designated spot for your hose, keeping it neatly coiled and ready for use. This not only saves space but also prevents tripping hazards in your yard or garden.
Lastly, properly rolling up your garden hose is essential for winter storage. When temperatures drop below freezing, any water left in the hose can expand and cause it to crack or burst. By properly draining and rolling up your hose, you can ensure that it stays in good condition throughout the winter months.
So, as you can see, properly rolling up your garden hose is not just about aesthetics. It’s a practical step that saves you time, money, also extends the life of your hose, and ensures a stress-free gardening experience.
How to Roll up a Garden Hose in 4 Steps?
Now to the main purpose of this blog post, here at Baloxpress we have written out some steps we took in properly rolling up our garden hoses, which will definitely be useful for you too.
Step 1. Choose the Right Time to Roll Up Your Hose
When it comes to rolling up a garden hose, timing is everything. Choosing the right time to roll up your hose can make the task much easier and more efficient.
Firstly, it’s best to roll up your hose when it’s dry. Rolling up a wet hose can be a messy and slippery affair, not to mention the added weight it brings. By waiting for your hose to dry, you’ll have a much easier time coiling it neatly.
It’s a good idea to roll up your hose after you’re finished using it for the day. This way, you can ensure that all the water has drained out, minimizing the risk of freezing and damage during the colder months.
If you have a hose reel or a garden hose reel connection, rolling up your hose becomes even simpler. With a hose reel, you can easily wind up your hose and keep it in one organized and tangle-free spot. Alternatively, if you have a retractable hose, simply press the button to retract it back into its housing, saving you time and effort.
So, choose the right time to roll up your hose and make the task a breeze. By waiting for the hose to dry and using a hose reel connector or retractable hose, you’ll have a stress-free experience and a neatly coiled hose ready for your next gardening adventure.
Step 2. Clear Any Debris or Knots Before Rolling
Before you start rolling up your garden hose, it’s essential to clear any debris or knots that may be lingering. You don’t want to end up with a tangled mess after all your hard work, do you? To avoid this, take a few moments to inspect your hose and remove any dirt, leaves, or other debris that may have accumulated.
Simply give it a quick shake or use a soft brush to gently sweep away any unwanted elements.
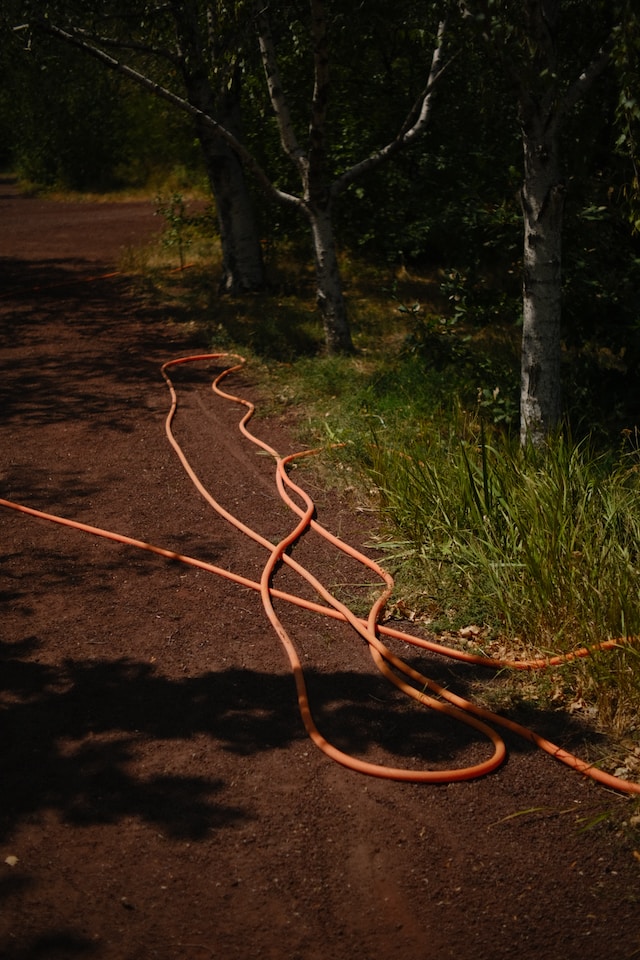
Next, check for any knots or kinks along the length of your hose. These pesky tangles can not only make rolling up your hose more difficult but also increase the risk of damage. Carefully untangle any knots, ensuring that the hose is smooth and free from twists or bends. This step is particularly important if you’re using a hose reel connector.
Knots or kinks can prevent the hose from feeding properly into the reel, leading to frustration and potential damage.
Taking the time to clear any debris or knots before rolling up your garden hose will make the process smoother and more efficient. You’ll thank yourself later when you have a perfectly coiled hose that’s ready to go for your next watering session. So, don’t skip this step and ensure a hassle-free experience every time!
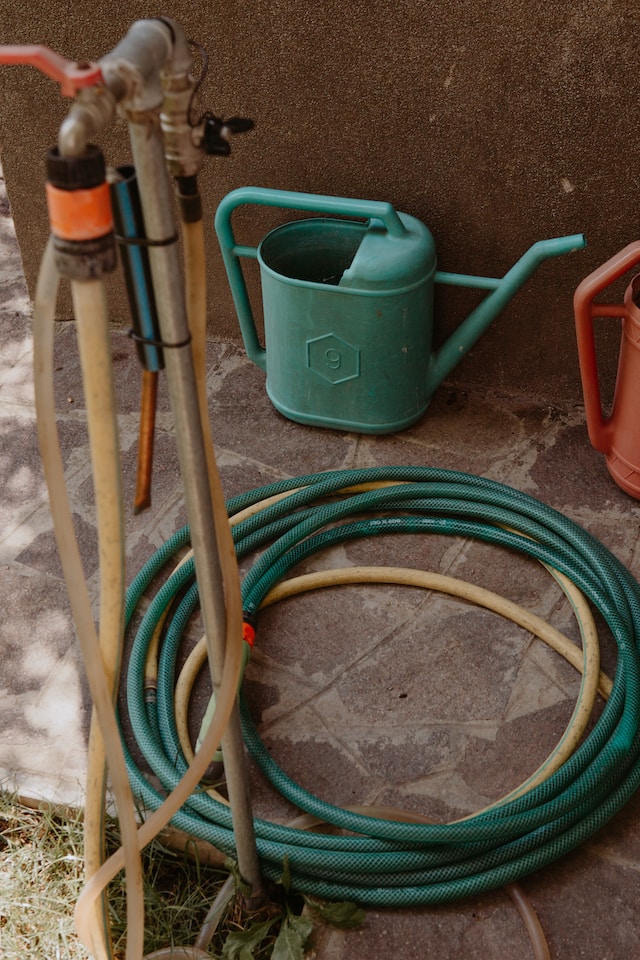
Step 3. Start Rolling from One End to the Other
Now that you’ve cleared any debris or knots from your garden hose, it’s time to start rolling! Starting from one end, grab the hose firmly and begin to coil it in a clockwise motion. Make sure to keep a tight grip as you roll, ensuring that the hose stays in place and doesn’t slip out of your hands.
As you roll, try to keep the coils close together to create a compact and organized bundle. This will prevent any tangling or kinking when you use the hose next time.
Keep rolling until you reach the other end of the hose, making sure that all the excess hose is neatly wrapped up.
If your hose is particularly long, you may need to walk along its length as you roll, gradually bringing it closer to the other end. This method helps to keep the coils tight and ensures that the hose is evenly rolled.
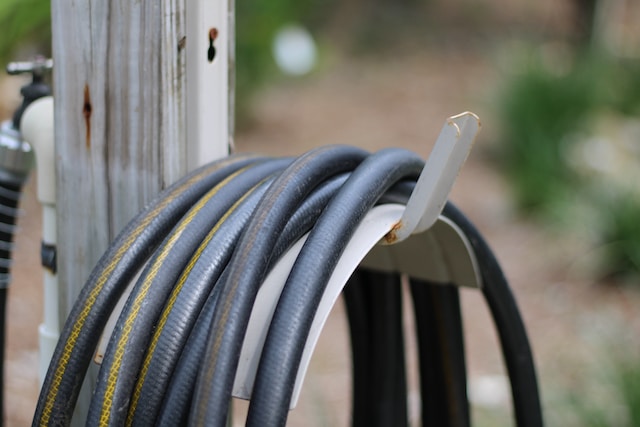
Step 4. Use a Hose Reel for Easy Storage
When it comes to storing your garden hose, using a hose reel is a game-changer. Not only does it make the process easier and more convenient, but it also helps keep your hose organized and tangle-free.
A hose reel provides a designated spot for your hose, eliminating the need to manually coil it up. All you have to do is attach the hose to the reel and wind it up using the handle or crank.
The reel ensures that the hose is neatly coiled and ready for your next watering session, saving you time and effort.
But that’s not all! Using a hose reel also helps protect your hose from damage.
By keeping it off the ground and away from potential hazards, such as being stepped on or run over, you can prevent punctures, leaks, and unnecessary wear and tear.
I will advise you purchase this garden hose reel, as we have tested it and it worked effectively for us on our garden.
Additionally, a hose reel provides a compact storage solution, saving you space in your garage or shed. You won’t have to worry about tripping over a stray hose or dealing with a tangled mess anymore. Everything will be in its place, ready for you to grab and go when you need it.
Investing in a hose reel is a smart choice for any gardener. It’s a simple and effective way to keep your garden hose tidy, prolong its lifespan, and ensure a stress-free watering experience. So why wait? Get yourself a hose reel and say goodbye to the hassle of manually rolling up your hose.
How to Store Garden Hose for the Winter?
Is winter coming? if yes, that means it’s time to start thinking about how to properly store your garden hose to protect it from the harsh weather conditions. Storing your hose for the winter is crucial in preventing any damage that can occur from freezing temperatures.
The first step in preparing your garden hose for winter storage is to completely drain it of any remaining water. Leaving water in your hose can cause it to freeze and expand, leading to cracks and potential bursting.
To drain your hose, simply disconnect it from the water source and elevate one end, allowing the water to flow out. You can also use an air compressor to blow out any excess water from the hose.
Once your hose is drained, it’s time to properly coil it for storage.
Start by following the steps mentioned earlier in this blog post on how to wrap up a garden hose. Make sure the coils are tight and evenly distributed to avoid any tangling or kinking.
Next, find a suitable storage location for your hose. Ideally, you want to keep it in a dry and protected area, such as a garage or shed. Avoid storing it on the ground or in a place where it can be exposed to extreme temperatures or harsh weather conditions.
If you have a hose reel, now is the time to use it. Wind your coiled hose onto the reel, making sure it is secure and properly aligned. This will keep your hose neatly stored and protected from any potential damage.
Lastly, consider covering your hose with a protective cover or tarp to provide an extra layer of insulation and protection during the winter months. This will help prevent any damage from Utra Violet rays or any other external elements.
By properly storing your garden hose for the winter, you can ensure its longevity and avoid any costly repairs or replacements. So take the time to prepare your hose for the cold season and rest easy knowing that it will be ready to go when spring rolls around.
RELATED: How to make garden hose more flexible
How to roll up a garden hose without a reel?
If you don’t have a hose reel, don’t worry! There are still ways to perfectly roll up your garden hose without one. Follow these steps below for a simple and effective method:
- Start by clearing any debris or knots from your hose, just like we mentioned earlier. Give it a quick shake or use a soft brush to remove any dirt or leaves that may have accumulated.
- Once your garden hose is clear, find a flat and open space to work on. This could be your driveway, a patio, or any area with enough room to maneuver the hose.
- Start at one end of the hose and grab it firmly. Begin coiling it in a clockwise motion, just like you would with a hose reel. Keep a tight grip as you roll to prevent the hose from slipping out of your hands.
- As you roll, try to keep the coils close together, creating a neat and compact bundle. This will help prevent tangling and kinking when you use the hose next time.
- Continue rolling until you reach the other end of the hose, making sure that all the excess hose is neatly wrapped up. If necessary, walk along the length of the hose as you roll to keep the coils tight and even.
Once you have the hose fully rolled up, secure it with a twist tie or Velcro strap to keep it in place.
By following these steps, you can roll up your garden hose without a reel and still achieve a neat and organized result. So, no more excuses for tangled and messy hoses!
Our Conclusion
Now that we have shown you the steps by steps guide in successfully rolling up your garden hose, even if you have a hose reel or not, we hope you can now go into your garden and carry out what you’ve learnt here.
If you are still having any issue with your garden hose roll up, drop your comments, our team is always ready to provide help to every gardners out there.


