

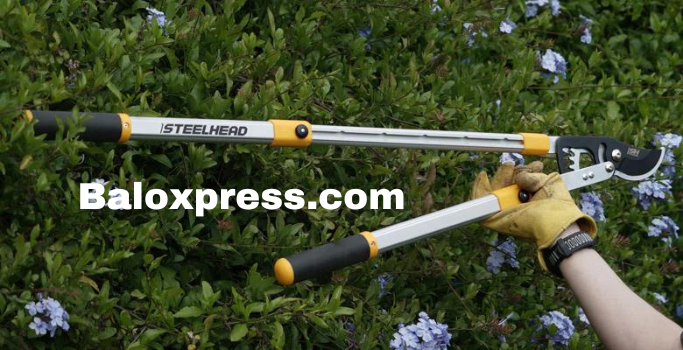
Maintaining your garden tools is essential for ensuring their longevity and effectiveness. Among these tools, garden loppers play a pivotal role in shaping and controlling the growth of trees and shrubs.
However, over time, loppers blades can become dull, making pruning tasks more difficult. That’s why knowing how to sharpen garden loppers is crucial for every gardener.
This blog post will walk you through the process, ensuring your loppers are always ready for the job.
Table of Contents
Importance of Sharp Loppers
Sharp garden loppers ensures clean cuts, which are important for the health of your plants. Rough cuts made by dull blades can lead to disease and pest infestations, as they don’t heal as quickly or as well.
Sharp loppers require less force to cut through large tree branches, reducing strain on your hands and arms during extended use. This not only makes your gardening tasks easier and more enjoyable but also helps prevent the risk of injury.
Now let’s take a quick look at tools you might need to ensure proper sharpening of your loppers.
Tools for Sharpening Garden Loppers
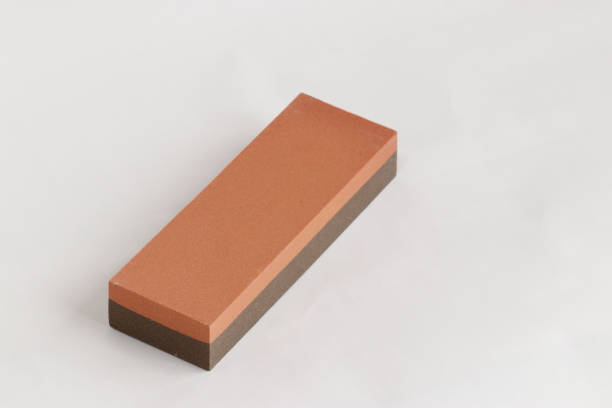
To effectively sharpen your garden loppers, gathering the right tools is essential. A primary requirement is a flat file for refining the blade’s flat edge. For more detailed sharpening, consider using a sharpening stone or diamond file, which allows for precision work. Securing the loppers firmly is critical to prevent any movement during the process; a vice or clamp can be invaluable for this purpose.
To ensure personal safety while performing these tasks, wearing protective gloves and eyewear is a must.
How to Sharpen Garden Loppers in 5 Steps
STEP 1: Clean plant liquids from blades.
Start the sharpening process by removing any plant sap, moisture, or debris from the lopper blades. Sap and residues can harden over time, creating a barrier that can affect the sharpening accuracy.
Use a cloth soaked in rubbing alcohol or a specialized gardening tool cleaner to thoroughly wipe down the blades. This will help to disinfect the blades, preventing the spread of disease between plants in your garden.
Make sure the blades are completely dry before moving on to the next step, as any moisture left can cause it to rust.
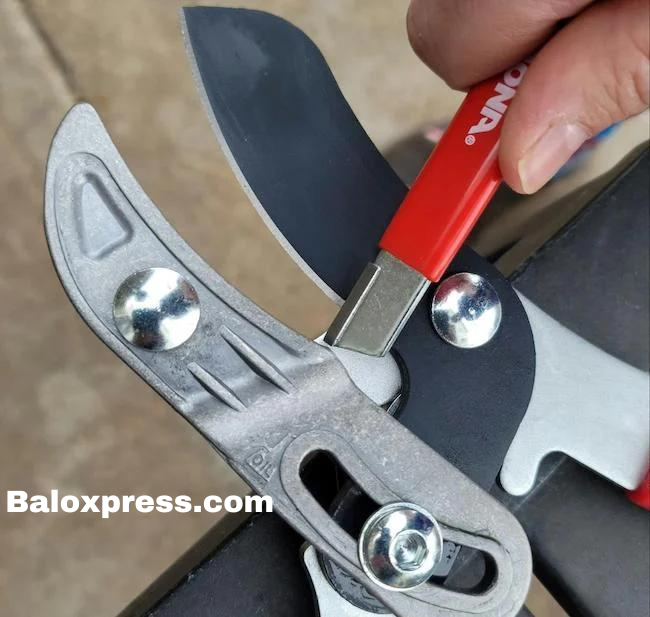
STEP 2: Sharpen Garden Lopper with the angle of the bevel.
With your lopper securely clamped and your chosen sharpening tool in hand, align the tool with the blade’s bevel angle. This angle is crucial for maintaining the blade’s effectiveness; deviating from it can result in poor cutting performance.
Gently, yet firmly, slide the file or stone along the length of the blade edge, moving in one direction – from the base near the pivot to the tip. Repeat this action, ensuring consistent pressure and angle throughout to gradually sharpen the edge.
It’s important to periodically check your progress, making slight adjustments as needed to achieve a sharp, clean edge that will glide through branches with ease.
STEP 3: Stroke from the pivot to the tip of the blade
After aligning your sharpening tool with the bevel angle of the blade, the next step focuses on the sharpening technique.
Starting at the pivot point (where the blades join) , apply gentle, consistent pressure as you slide the file or sharpening stone outward toward the tip of the blade.
Repeat this process until you achieve a satisfactory sharpness, always moving in the same direction to enhance the blade’s cutting ability.
ALSO READ: How to sharpen garden shears with a file?
STEP 4: Sharpen both sides of an anvil lopper blade
For anvil loppers, both sides of the blade require attention, differing from bypass models where only one side is typically sharpened. Begin by working on the beveled edge first, using the same method and tools as previously described.
After adequately sharpening the beveled side, flip the lopper over to address the flat side. This side does not need the same intense sharpening; instead, lightly run the flat file or stone across it to remove any burrs created during the initial sharpening.
This step ensures the blade’s edge is smooth and efficient for a precise cut. Remember, the objective here is to refine, not to reshape, the flat side.
STEP 5: Lubricate garden Lopper
To finalize the sharpening process, lubrication is key for both preserving your lopper’s newly sharpened edge and ensuring its smooth operation.
Apply a liberal amount of oil along the blade, focusing on the pivot area where friction is highest. Use a clean cloth to spread the oil evenly, covering the entire surface without leaving excess.
This not only protects the metal from rust but also facilitates smoother cutting action, reducing the effort needed during use. Make sure you opt for a light machine oil or a specific gardening tool lubricant for best results.
Regular lubrication after cleaning and sharpening extends the life and performance of your garden loppers.


