

Garden shears are an essential tool for any gardener, but over time they can become dull and less effective. Sharpening them with a file is a simple and cost-effective way to maintain their sharpness and prolong their lifespan.
In this blog post, we will guide you through 4 simple steps to sharpen your garden shears with a file, so you can keep your shears in top condition for all your gardening needs. Let’s get started!
Table of Contents
The Importance of Maintaining Sharp Garden Shears
Maintaining sharp garden shears is essential for any gardener. Sharp shears make clean cuts, allowing plants to heal more quickly and reducing the risk of disease. Dull shears, on the other hand, can crush stems and tear leaves, leaving plants vulnerable to infection and slowing their growth.
Regular maintenance also prolongs the lifespan of your shears. When blades become dull, more force is needed to cut through branches and stems, which can strain the tool and potentially lead to damage. By keeping your shears sharp, you ensure they work efficiently and last for years to come.
Sharp shears also improve your gardening experience. With clean, precise cuts, you’ll have more control over shaping your plants and creating attractive landscapes. Plus, maintaining sharp shears is much easier than trying to restore sharpness once they become extremely dull.
So, whether you’re a professional gardener or just an enthusiast, taking the time to sharpen your garden shears is a worthwhile investment. It will not only benefit your plants, but also make your gardening tasks more enjoyable and efficient.
Tools you will need to sharpen garden shears with a file
- Metal file
- Safety Gloves
- Sap remover
- Clean towel
To sharpen your garden shears with a file, you will need a few essential tools. The star of the show is, of course, the file itself. Look for a flat file with fine teeth that is suitable for sharpening blades. It’s important to choose a file that is the right size for your shears, so check the manufacturer’s recommendations or consult a gardening expert if you’re unsure. For this purpose of this guide, i will recommend you purchase this metal file as we already used it several times and it worked perfectly
In addition to the file, you’ll also need a few other tools to aid in the sharpening process. A pair of safety gloves will protect your hands from any accidental slips or cuts. A wire brush or a toothbrush can be handy for cleaning the blades before sharpening.
You may also want to have a sharpening stone or a honing guide on hand for more precise sharpening, although these are not essential.
With these tools at your disposal, you’ll be well-equipped to tackle the task of sharpening your garden shears. So gather your materials, find a comfortable work area, and let’s dive into the first step of the process.
How to sharpen garden shears with a file in 4 simple steps
Below, are the four steps which can help any gardener sharpen their garden shears with a file effectively.
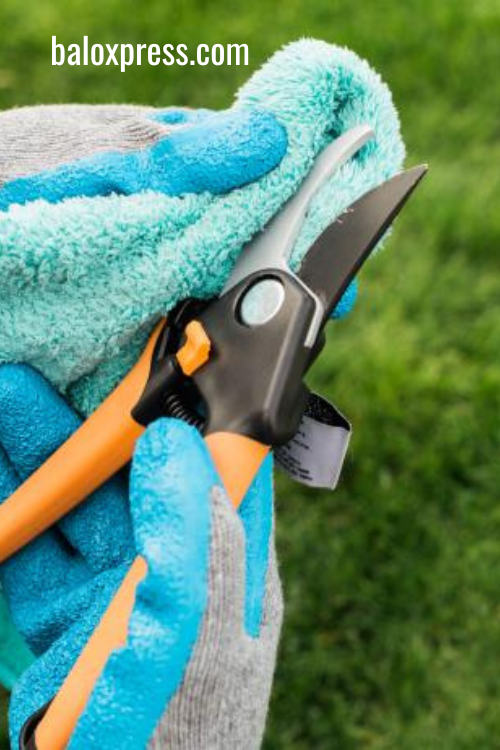
STEP 1: Prepare the area
Before you start sharpening your garden shears with a file, it’s important to prepare the area to ensure a smooth and efficient process. The first step is to find a clean and well-lit workspace where you can comfortably work on your shears. This could be a table or workbench in your garage or a sturdy outdoor surface.
Next, gather all the necessary tools and materials you’ll need for the sharpening process.
Make sure you have your file, safety gloves, wire brush or toothbrush for cleaning, and any other optional tools you may have chosen to use. Having everything within reach will save you time and prevent any interruptions during the sharpening process.
It’s also a good idea to lay down a clean towel or a drop cloth to catch any debris that may come off during the sharpening process. This will make cleanup easier and prevent any mess from getting on your work surface.
Once you have prepared the area, double-check that you have all the tools you need, ensuring a smooth and uninterrupted sharpening process. Now, you’re ready to move on to the next step: cleaning the blades.
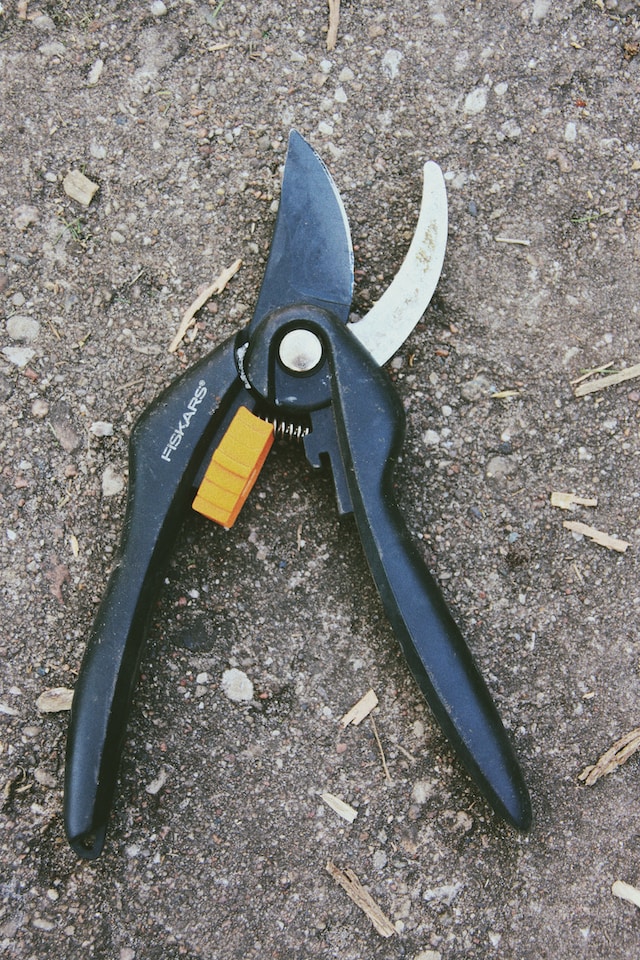
STEP 2: Clean up the blades
After preparing your work area, it’s time to clean the blades of your garden shears before sharpening them with a file. Cleaning the blades not only helps remove any dirt and debris that could interfere with the sharpening process, but it also allows you to inspect the blades for any damage or rust that may need attention.
To clean the blades, start by using a wire brush or toothbrush to remove any loose dirt or plant residue.
Pay close attention to the area near the pivot point, as this is where debris often accumulates. Be thorough in your cleaning, making sure to remove any stubborn debris that may be stuck in between the blades.
If you notice any rust on the blades, you can use a sap remover or a mixture of baking soda and water to gently scrub away the rust. Be sure to dry the blades thoroughly after cleaning to prevent any further rusting.
Once the blades are clean and dry, you’re ready to move on to the next step: sharpening the angle.
STEP 3: Sharpen the angle
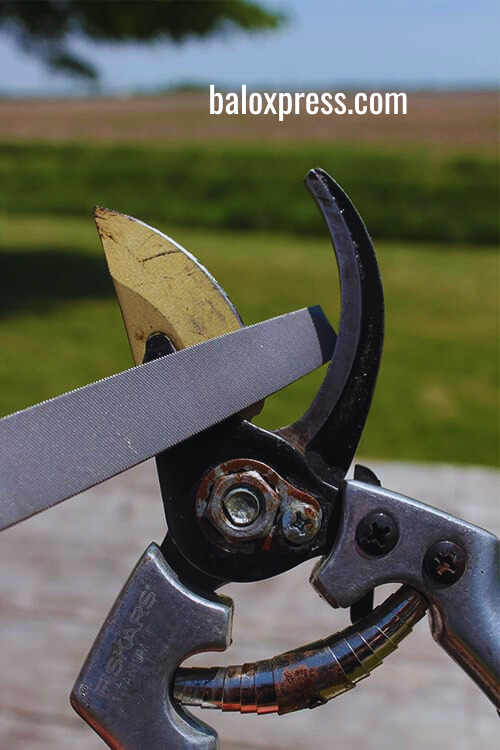
Now that your garden shears are clean, it’s time to sharpen the angle of the blades. This step is crucial for restoring their sharpness and ensuring they make clean cuts. To sharpen the angle, hold the file securely and position it against the beveled edge of one of the blades. It’s important to maintain a consistent angle throughout the sharpening process, typically around 20-30 degrees.
Using long, smooth strokes, glide the file across the beveled edge, moving from the base of the blade to the tip. Apply light pressure and avoid pressing too hard, as this can damage the blade. Remember to work on both sides of the blade to ensure even sharpening.
As you file, periodically check the blade’s sharpness by carefully running your fingertip along the edge (be cautious to avoid cuts). The blade should feel noticeably sharper after a few passes. If not, continue filing until you achieve the desired sharpness.
Once you’ve sharpened the angle on one blade, repeat the process on the other blade, ensuring both are equally sharp.
Congratulations! You’ve successfully sharpened the angle of your garden shears. Now it’s time to move on to the final step: filing the back of the blades to further enhance their sharpness.
STEP 4: File the back
Now that you have sharpened the angle of your garden shears, it’s time to take the final step and file the back of the blades. This step may seem unnecessary, but it is actually essential for achieving maximum sharpness. Filing the back of the blades removes any burrs or rough edges that may have been created during the sharpening process, resulting in an even sharper cutting edge.
To file the back of the blades, hold the file flat against the back edge of one of the blades. Apply light pressure and use long, smooth strokes to file away any imperfections. Make sure to file evenly across the entire back surface to ensure a consistent sharpness.
After filing one blade, repeat the process on the other blade, ensuring both blades are equally sharp. Once you have filed both blades, use a clean cloth or paper towel to remove any metal shavings or debris.
Congratulations! You have successfully sharpened your garden shears with a file. Now that they are in top condition, be sure to take proper care of them to ensure their longevity. With sharp shears, you’ll be able to tackle all your gardening tasks with ease and precision. Happy gardening!
Safety Tips While Using A File to Sharpen Your Shears
When it comes to sharpening your garden shears with a file, safety should always be a top priority. Follow these important safety tips to ensure a smooth and accident-free sharpening process.
First and foremost, wear a pair of safety gloves to protect your hands from any slips or cuts. Garden shears have sharp blades, and even a slight slip can result in a painful injury. Gloves provide an extra layer of protection and give you peace of mind while you work.
Next, make sure to always maintain a firm grip on both the shears and the file. This will prevent any accidental drops or mishaps that could cause injury. If your hands are wet or sweaty, take a moment to dry them before starting the sharpening process to ensure a secure grip.
Be mindful of the direction in which you file. Always file away from your body to avoid any potential accidents. Filing towards yourself can increase the risk of the file slipping and causing injury.
Additionally, it’s crucial to use the right file for the job. Using a file that is too small or too large for your shears can lead to ineffective sharpening or even damage the blades. Follow the manufacturer’s recommendations or consult a gardening expert to ensure you have the correct file size for your shears.
Lastly, take breaks if needed. Sharpening garden shears can be a repetitive task that requires focus and precision. If you start to feel tired or your concentration wavers, take a short break. This will help prevent accidents caused by fatigue.
By following these safety tips, you can ensure a safe and successful sharpening process for your garden shears. Remember, safety should always come first, no matter how simple the task may seem.
ALSO READ: How to sharpen garden tools by hand
How to ensure longevity of your sharpened garden shears
Now that you’ve sharpened your garden shears with a file and they’re in top condition, it’s important to take steps to ensure their longevity. By properly caring for your shears, you can keep them sharp and functional for years to come.
One key way to ensure the longevity of your sharpened garden shears is to clean them regularly.
After each use, wipe down the blades with a clean cloth to remove any dirt or debris. This will prevent buildup and keep the blades from becoming dull. You should also consider applying a light coat of oil to the blades to prevent rusting and keep them lubricated.
In addition to regular cleaning, it’s important to store your shears properly. Make sure to keep them in a dry, secure place, away from moisture and extreme temperatures. You may also want to consider using a sheath or cover to protect the blades when they’re not in use.
Lastly, it’s a good idea to periodically inspect your shears for any signs of damage or wear. If you notice any loose screws, bent blades, or other issues, take the time to address them promptly. This will help prevent further damage and ensure your shears continue to function at their best.
Common problems in sharpening process of garden shears
While sharpening garden shears with a file is a straightforward process, there may be some common problems that you encounter along the way. Don’t worry! We’re here to help troubleshoot those issues so you can achieve the best results.
1. One common problem is when the shears still feel dull after filing. This could be because the angle wasn’t maintained consistently throughout the sharpening process. Remember to hold the file at the correct angle (around 20-30 degrees) and apply light pressure. If you notice that the angle isn’t consistent, go back and re-file the blades to ensure an even sharpness.
2. Another issue you might encounter is a file that becomes clogged with debris, making it less effective. To prevent this, clean the file regularly by using a wire brush or toothbrush to remove any metal shavings or build-up. This will keep the file clear and ensure it continues to sharpen your shears effectively.
If you find that your shears are not cutting cleanly even after sharpening, it could be due to damage or wear on the blades. In this case, you may need to take your shears to a professional for repairs or consider replacing them if they are beyond repair.
Remember, practice makes perfect! If you’re new to sharpening garden shears, it may take a few attempts to get the hang of it. Don’t get discouraged. With time and practice, you’ll become more confident in your sharpening skills.
By addressing these common problems and applying the necessary solutions, you’ll be able to understand how to sharpen garden shears with a file effectively and achieve optimal results. Happy sharpening!


