

Garden gloves are an essential tool for any avid gardener. They protect our hands from thorns, dirt, and other potential hazards while working in the garden. But after a long day of pruning, planting, and weeding, these gloves can get dirty and stained. It’s important to regularly wash your garden gloves to keep them clean and hygienic.
In this post, we’ll discuss the best methods for washing your garden gloves to ensure they stay in top condition for all your gardening needs.
Table of Contents
The Importance of Clean Garden Gloves
There’s much more to clean garden gloves than just the pleasing aesthetic of mud-free tools. Consider, for a moment, the hidden world of your gloves. Unseen to the naked eye, bacteria and mold may be thriving in the nooks and crannies, presenting a risk of infection. Allergens can also nestle in, lying in wait to spark a bout of sneezing or a rash.
Even if you’re lucky enough to avoid these health hazards, your gloves can still unwittingly transport diseases and pests from one plant to another, compromising the health of your entire garden. When we’re talking about the wellbeing of your green oasis, clean gloves aren’t just an option; they’re a necessity.
Beyond the potential health risks and cross-contamination concerns, there’s also the simple fact that clean gloves are just more comfortable. Garden dirt has a knack for making its way into every seam and crevice of your gloves. Over time, this build-up can lead to discomfort and even blisters.
Then there’s the issue of longevity. It’s no secret that dirty, damp gloves are more likely to become damaged and degrade over time. So, keeping your gloves clean can also mean fewer replacements and less waste, which is good news for your wallet and the planet.
In short, the cleanliness of your garden gloves impacts everything from your health and comfort to the prosperity of your garden and the size of your gardening budget. So, the next time you finish a gardening session and are tempted to throw your gloves in the shed without a second thought, remember the hidden world they could be harboring and the host of benefits that come with a good clean.
How to wash garden gloves in 4 easy steps
Step 1: Inspect Gloves
Before diving into the washing process, it’s time for a little detective work. Start by giving your garden gloves a good once-over. Shake them gently to dislodge any loose soil or tiny bits of plant material that may be hiding inside.
As you do this, keep an eye out for any visible grime or debris clinging to the exterior. This isn’t just about cleanliness; it’s also an opportunity to assess the overall condition of your gloves. Are there any tears, holes, or signs of wear and tear? If so, you may need to mend these areas or consider investing in a new pair. This initial inspection not only sets the stage for a successful cleaning but also allows you to ensure your gloves are in optimal condition for their essential role as your garden’s first line of defense.
Step 2: Pre-treatment for Stubborn Stains
So, you’ve had a close look at your garden gloves and noticed they’re sporting the telltale signs of hard work: stubborn stains. Maybe it’s the lingering hint of last week’s mulching session or the smudge of sap from that stubborn tree you pruned. These stains might seem like badges of honor, testament to your green thumb and dedication, but they can also make it harder to get your gloves properly clean. Don’t worry; it’s pre-treatment time!
Roll up your sleeves and grab your stain remover. It’s time to wage a friendly war against those stubborn stains that have marked your garden gloves as their territory. If you don’t have a specific stain remover on hand, not to worry. A concoction of vinegar and water works well too, particularly on natural fabrics like cotton.
To pre-treat your gardening gloves, apply your chosen stain remover to those tough, unyielding areas. Let it work its magic for about 15-20 minutes. The aim here isn’t to erase the memories of your gardening feats but to ensure that the remnants don’t interfere with your gloves’ performance or longevity. So while you’re letting your gloves soak, take a well-deserved break. You’ve earned it.
Once your gloves have had a chance to soak, you’re ready for the next step: the wash. But remember, patience is a virtue, especially when it comes to stubborn stains. It might take more than one pre-treatment session to get your gloves looking their best. But rest assured, it’s worth the effort. After all, clean garden gloves are happy garden gloves. And happy garden gloves mean a happy gardener.
Step 3: Hand Wash or Machine Wash
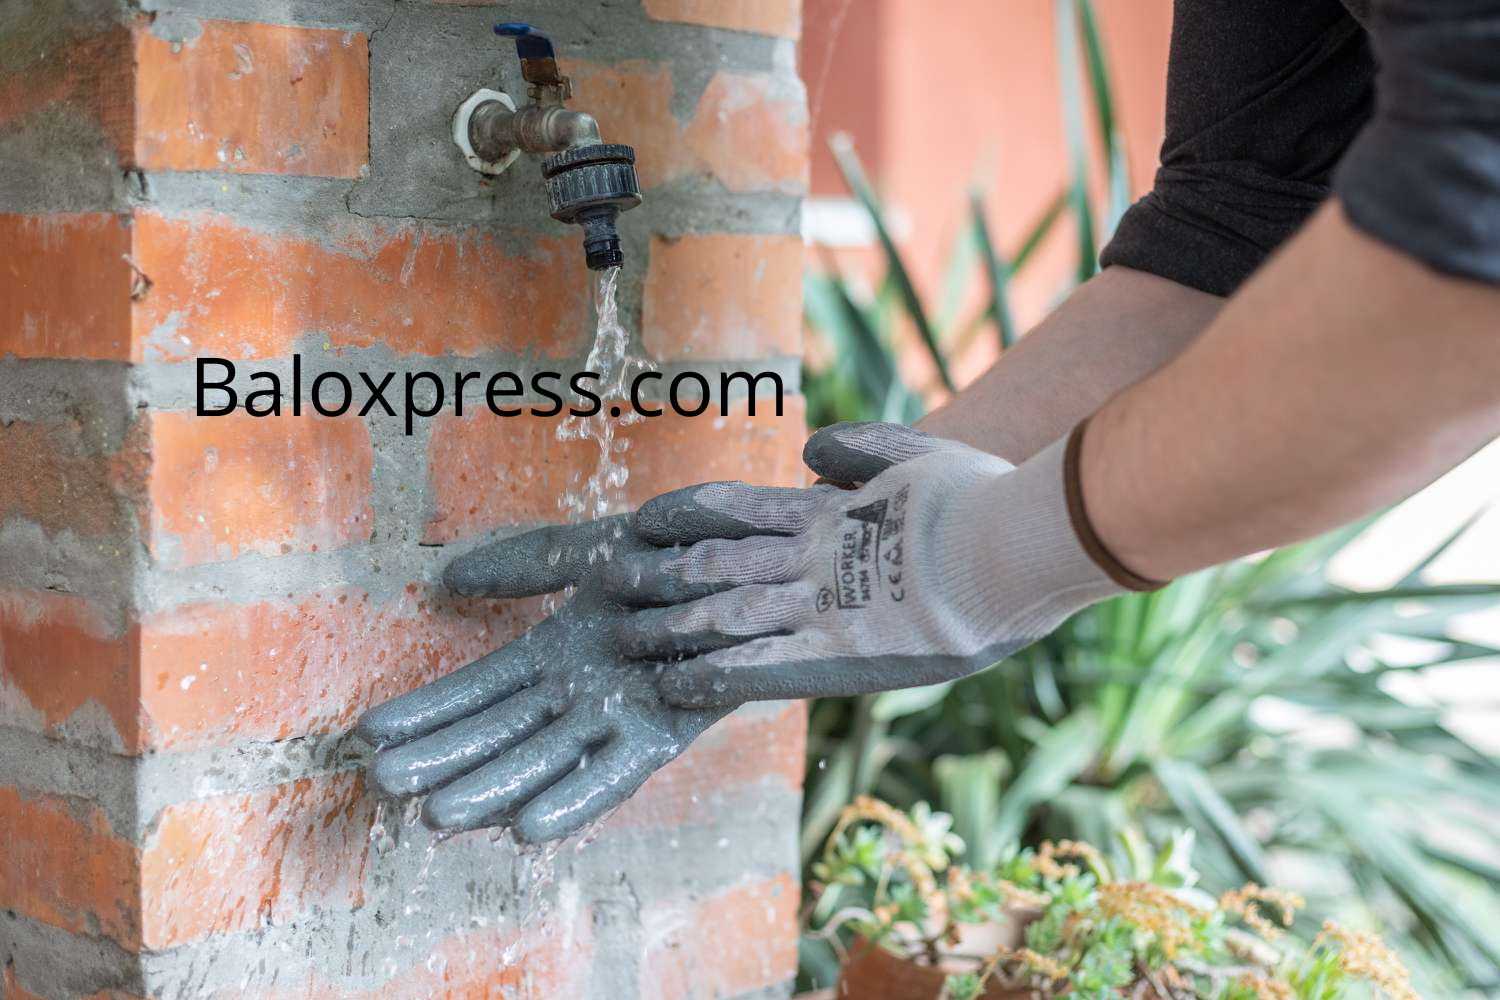
Okay, so you’ve inspected your gloves and conquered those stubborn stains. It’s now time to plunge into the real washing action. Hold up, before you toss those gloves into the washing machine or sink, take a moment to consider their fabric. Why? Because the washing method you choose is dependent on what your gloves are made of.
To wash leather gardening gloves, hand washing is the best practice we recommend. This may sound tedious, but it’s easier than you think. Just use a mild soap or detergent and gently work it into the gloves. It’s a bit like giving your gloves a spa treatment, really. Take care not to soak the gloves entirely or use harsh chemicals, as this can damage the leather.
On the other hand (pun intended), if you’re sporting nylon or cotton gloves, they’re generally safe to toss into your washing machine. Remember to set it to a cold water setting and use the gentle cycle. Think of this as a thrill ride for your gloves, only with fewer twists and turns.
No matter what material your gloves are, it’s always a smart move to double-check the manufacturer’s instructions before you start the washing process. Like the roadmap for a road trip, these instructions provide the best route to clean, durable gloves.
So, are you ready to give your gloves the bath they deserve? Whether it’s the soothing experience of hand washing or the whirl of the machine, your gloves will emerge clean, refreshed, and ready for the next gardening adventure. So let’s roll up our sleeves and get to it!
Step 4: Air Dry Properly
So, you’ve diligently inspected, pre-treated, and washed your gardening gloves. Good job! But don’t pat yourself on the back just yet; there’s one more crucial step – drying. Now, you might be tempted to toss them into your trusty dryer. Resist the temptation! The intense heat from a dryer might lead to your gloves shrinking or their material getting damaged.
Instead, embrace the natural and effective method of air drying. Find a well-ventilated space where fresh air freely flows. A covered patio or a laundry room with an open window would work perfectly. Then, lay your gloves flat on a clean towel. If the sun is shining brightly outside, take advantage of this natural dryer. Place them in a sunny spot but ensure it’s not a location where they can get wet again – we’re trying to dry them, not give them a second wash!
Remember, the drying process is not a race. It’s more of a marathon. Your gloves need time to properly dry out all the moisture. Speeding up the process can lead to material damage or a nasty surprise of still-damp gloves when you’re ready to garden again.
Consider this step as your gloves’ rest day. After all the washing and scrubbing, they deserve some downtime. While they dry, you can take a breather too. Perhaps catch up on your favorite gardening magazine or plan your next green project. By the time you’re done, your gloves will be refreshed and ready to help you get back into the dirt. So here’s to properly dried gloves, and the promise of many more rewarding days in the garden.
How to maintain your gardening gloves
So, now that you’ve mastered how to wash garden gloves, you need to understand how to maintain it so as to make sure it last you for a vey long period of time.
Let’s start with storage. It’s tempting to toss your gloves into the shed or garage at the end of a long gardening session, but remember, proper storage can dramatically extend their life. Look for a cool, dry, and clean area, away from direct sunlight or moisture. This can help prevent the growth of mold and mildew, which are as unwelcome on your gloves as they are on your plants.
Next, get into the habit of shaking out your gloves after every use. This simple act can dislodge dirt or plant material that’s tucked away in the fingers. Plus, it’s a great way to ensure you don’t unintentionally bring any garden pests indoors.
Also, consider a regular inspection routine. Like a monthly health check-up for your gloves, this can help you spot any small tears or worn areas before they become major issues. For leather gloves, a conditioning treatment every now and then can help keep the material supple and resistant to cracks.
Finally, remember the old saying ‘an ounce of prevention is worth a pound of cure’. Try to avoid unnecessary damage to your gloves by using tools for their intended purposes and not as a makeshift hammer or trowel.
In essence, maintaining your garden gloves is all about a series of small but impactful habits. And just like a healthy garden, these habits can take a little time and effort to establish, but the results are well worth it. So here’s to treating your gardening gloves with the same care and respect you give your garden. After all, they’re an essential part of your green-thumbed journey.
When to Replace Garden Gloves
We’ve covered the in-depth process of washing, drying, and maintaining your garden gloves. Now comes the inevitable part of any gardening tool’s life cycle – when to say goodbye. Your gloves may be your loyal sidekicks, but there will come a time when they’ll need to retire from their gardening duties. Knowing when to replace your gloves isn’t just about aesthetics; it’s about the continued health of your hands and your beloved plants.
There are several signs to look out for when assessing whether your gloves are due for a replacement. Start by considering the overall condition. Are there holes, tears, or frayed seams that no amount of mending can resolve? Do you notice that your gloves are becoming uncomfortably tight or too loose, possibly due to material stretching or shrinking? Have the gloves lost their protective qualities, allowing thorns to pierce through or soil to creep in?
Next, think about the material. For our leather glove wearers, has the leather become stiff and cracked despite regular conditioning? If you’re a fan of cotton or nylon gloves, have they lost their durability, with fabric wearing thin and no longer providing enough protection?
Don’t forget to take comfort and functionality into account. Are your gloves causing discomfort or blisters due to wear and tear? Are they not as flexible or dexterous as they once were, making gardening tasks feel more strenuous?
If you answered yes to any of these questions, it might be time to bid farewell to your old gloves and introduce a new pair to your gardening routine. Remember, the purpose of garden gloves is to protect your hands and aid you in your gardening journey. If they’re no longer doing their job effectively, it’s time to replace them.


